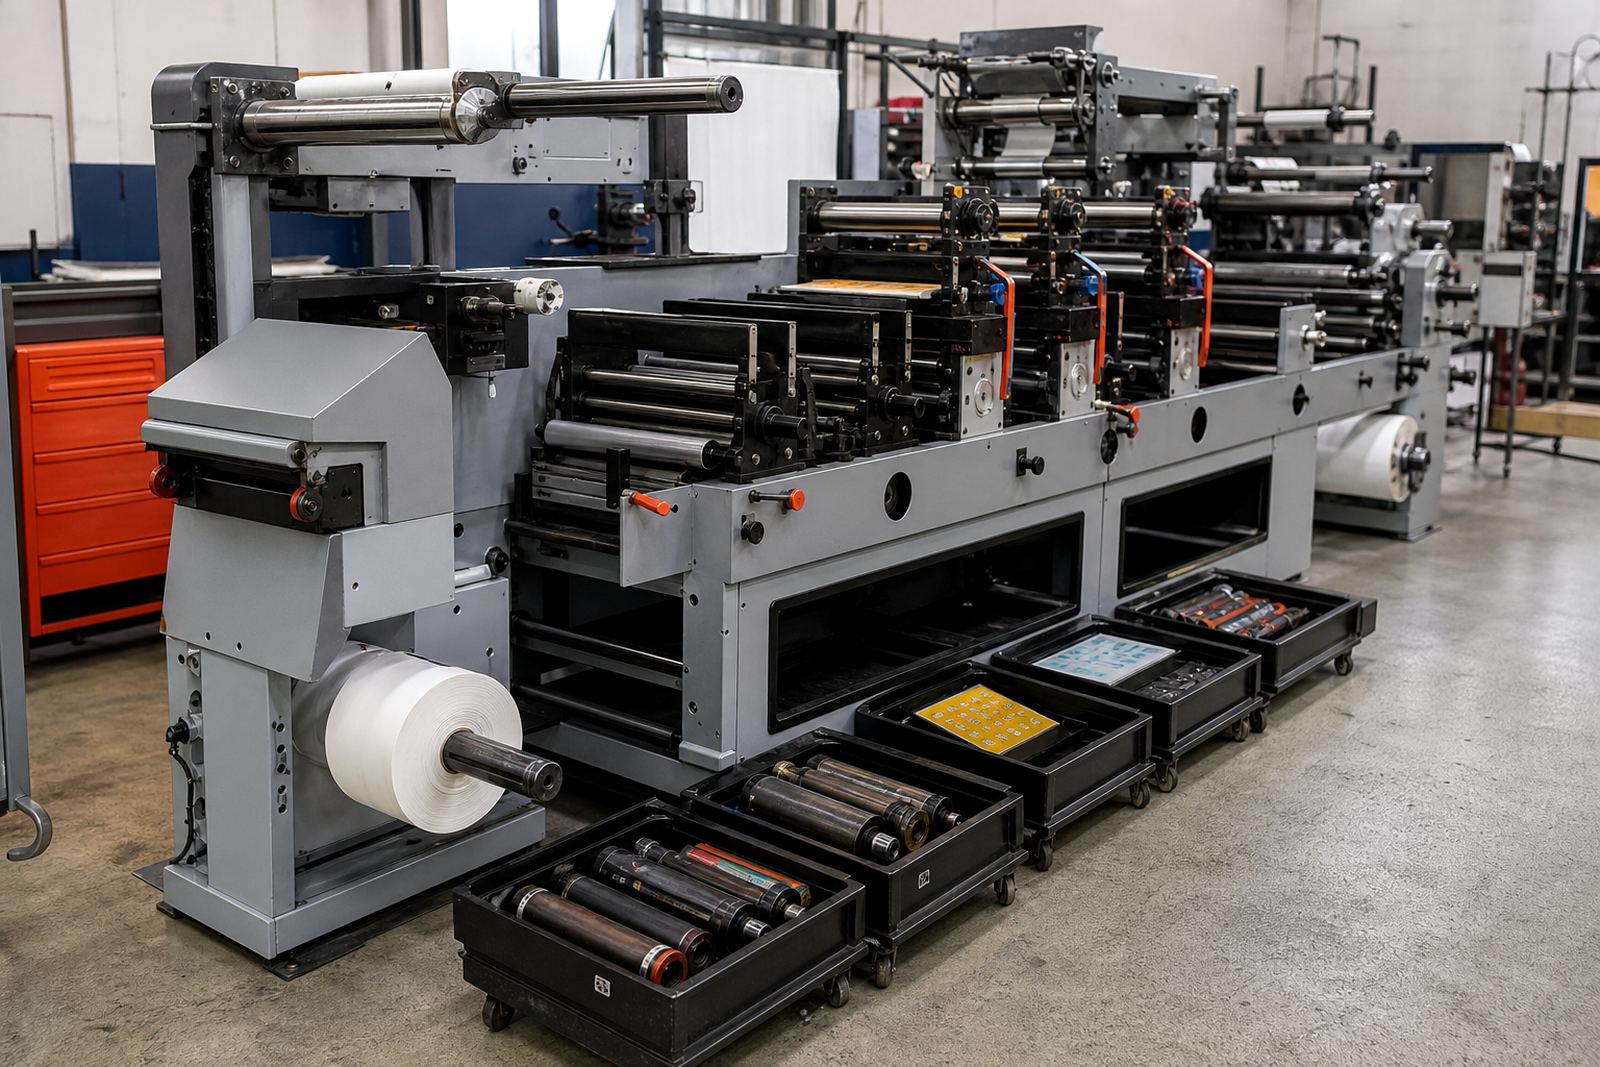
Start the Next Job Before the Press Stops
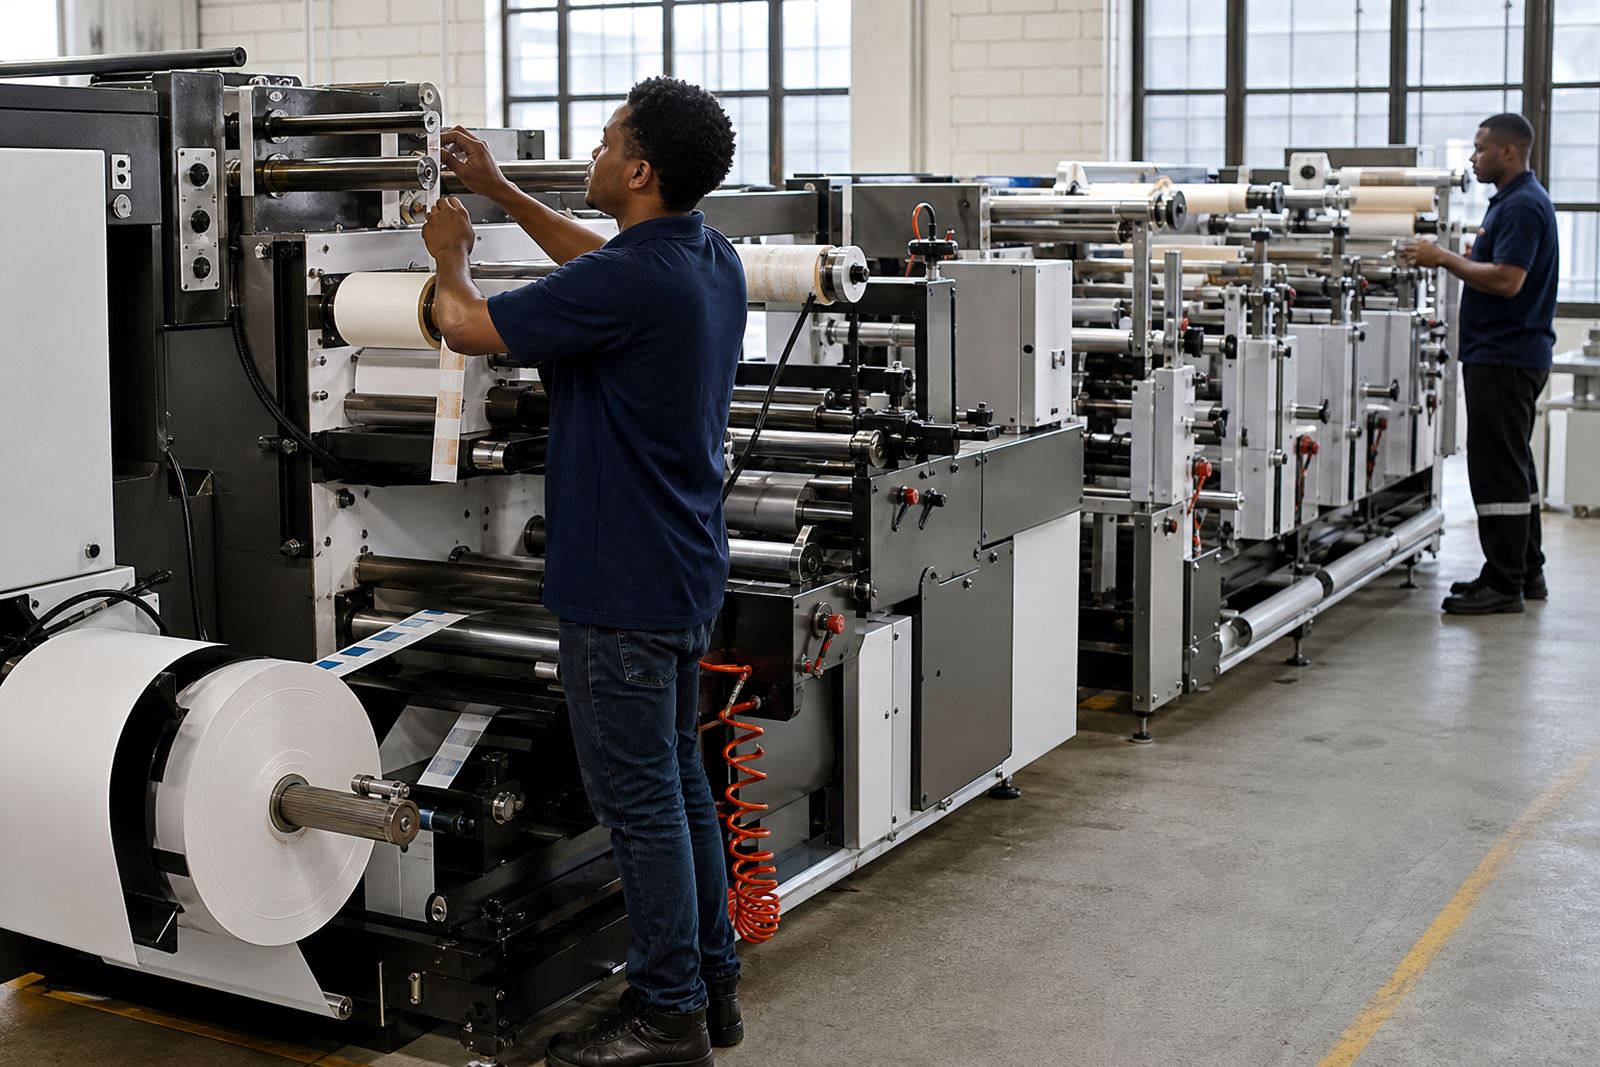
A tidy changeover begins with the job ticket in hand and the next materials ready at the press side. Confirm the substrate, plate set, inks, anilox rolls, cylinders, finishing tools and any special requirements before the old job is cleared. In Spartan, Kempton Park, many converters run close schedules and a few missing items can slow the whole line.
Check the full handover with the operator, floor supervisor and finishing team. If the job involves cold foil, varnish, overlaminate or die cutting, note it early so the press room and finishing area can plan the order of work. This reduces mix ups and keeps the press moving, especially when load shedding or a short power interruption has already pushed the day off track.
Strip the Press in a Set Order
Once the run is complete, remove printed stock and isolate the press safely. Strip the previous job in a steady order so parts do not get mixed between stations. Keep used plates, sleeves, anilox rolls and tooling grouped by job until the new work is ready.
Good housekeeping matters here. Ink residue on guards, bridges and rollers can carry into the next run, and a few minutes spent cleaning now can save more time later. If the site is near the coast, moisture can affect stored plates and finishing items, so keep them covered and dry while the changeover is in progress.
- Clear waste and offcuts first
- Remove inks and return lids properly
- Label any parts that must go back on the same job
- Wipe contact points before the new setup starts
Set Plates, Anilox and Web Path with Care
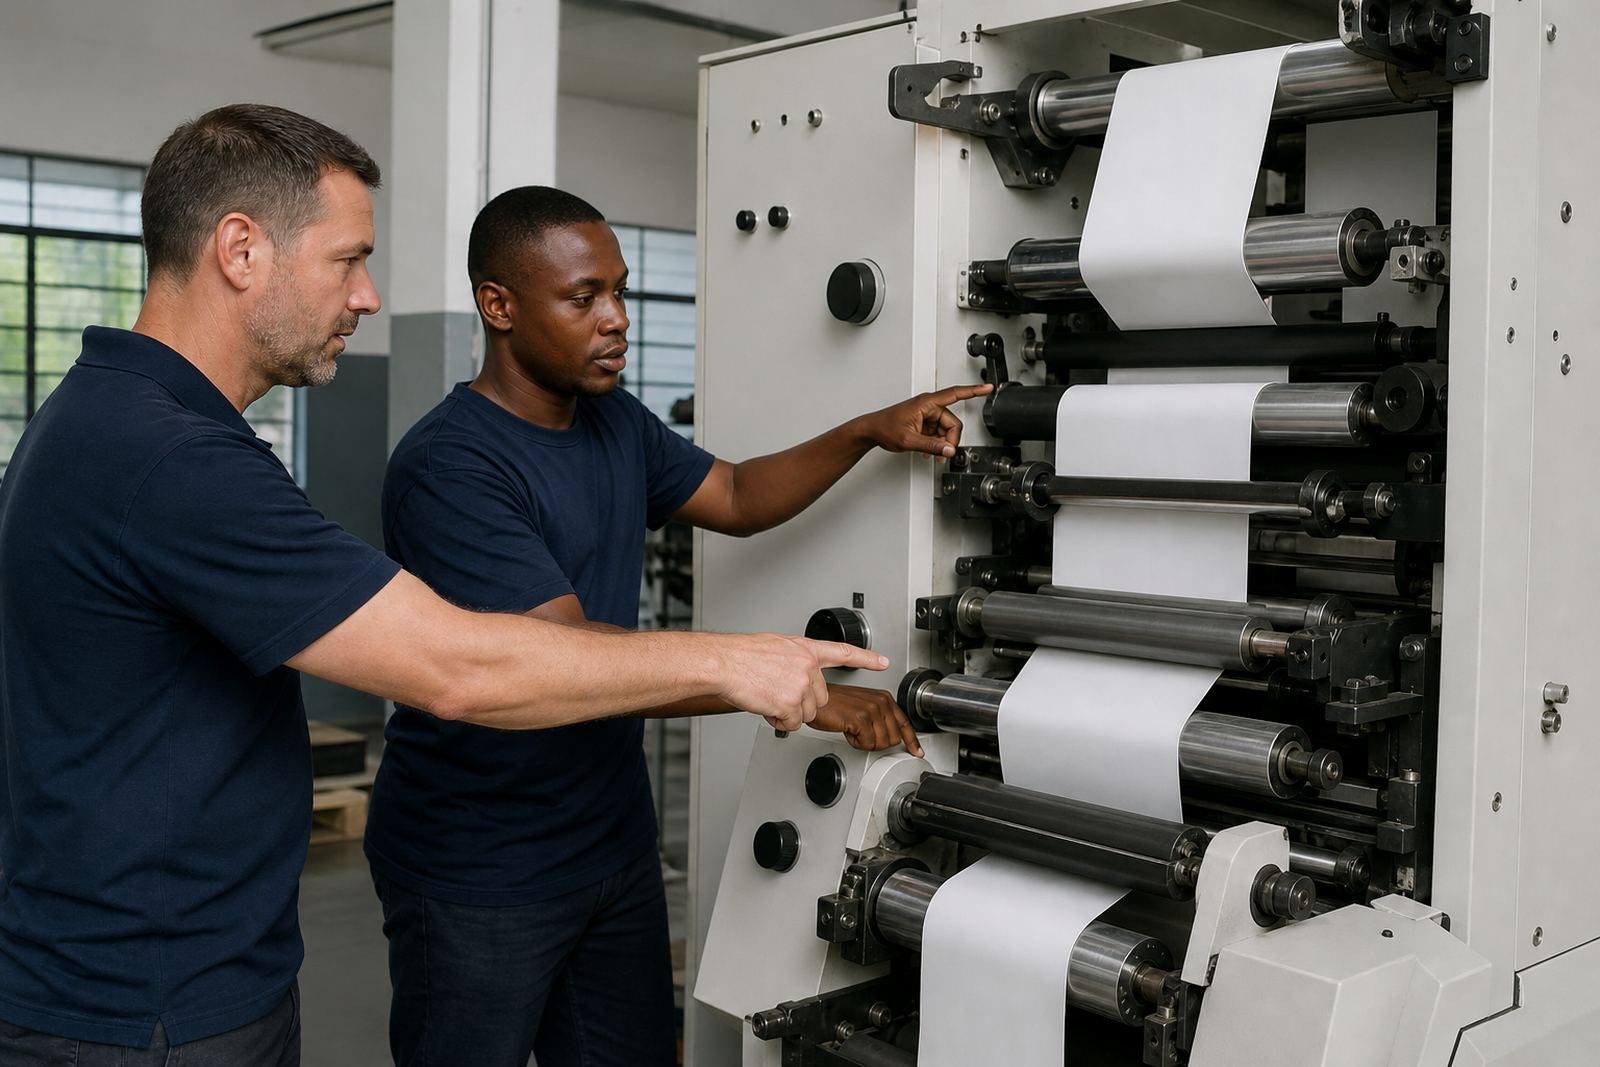
Accurate setup starts with the print stations. Mount plates properly, check registration marks, and make sure the web path is clean and free of damage. If the job uses special finishing later in the line, leave enough room for that section to work without rubbing or drag.
Pay attention to the anilox condition, plate mounting position and web tension. Small setup mistakes show up quickly on narrow-web work, especially on fine text, solid areas and repeat graphics. A careful first pull saves time on press and gives the finishing team a cleaner reel to work with.
- Check plate alignment before ink goes on
- Inspect the web path for wear, dust or adhesive build-up
- Confirm the substrate feeds straight and tension is even
- Make a sample pull before full speed production
Keep the First Sheets and Reels Under Control
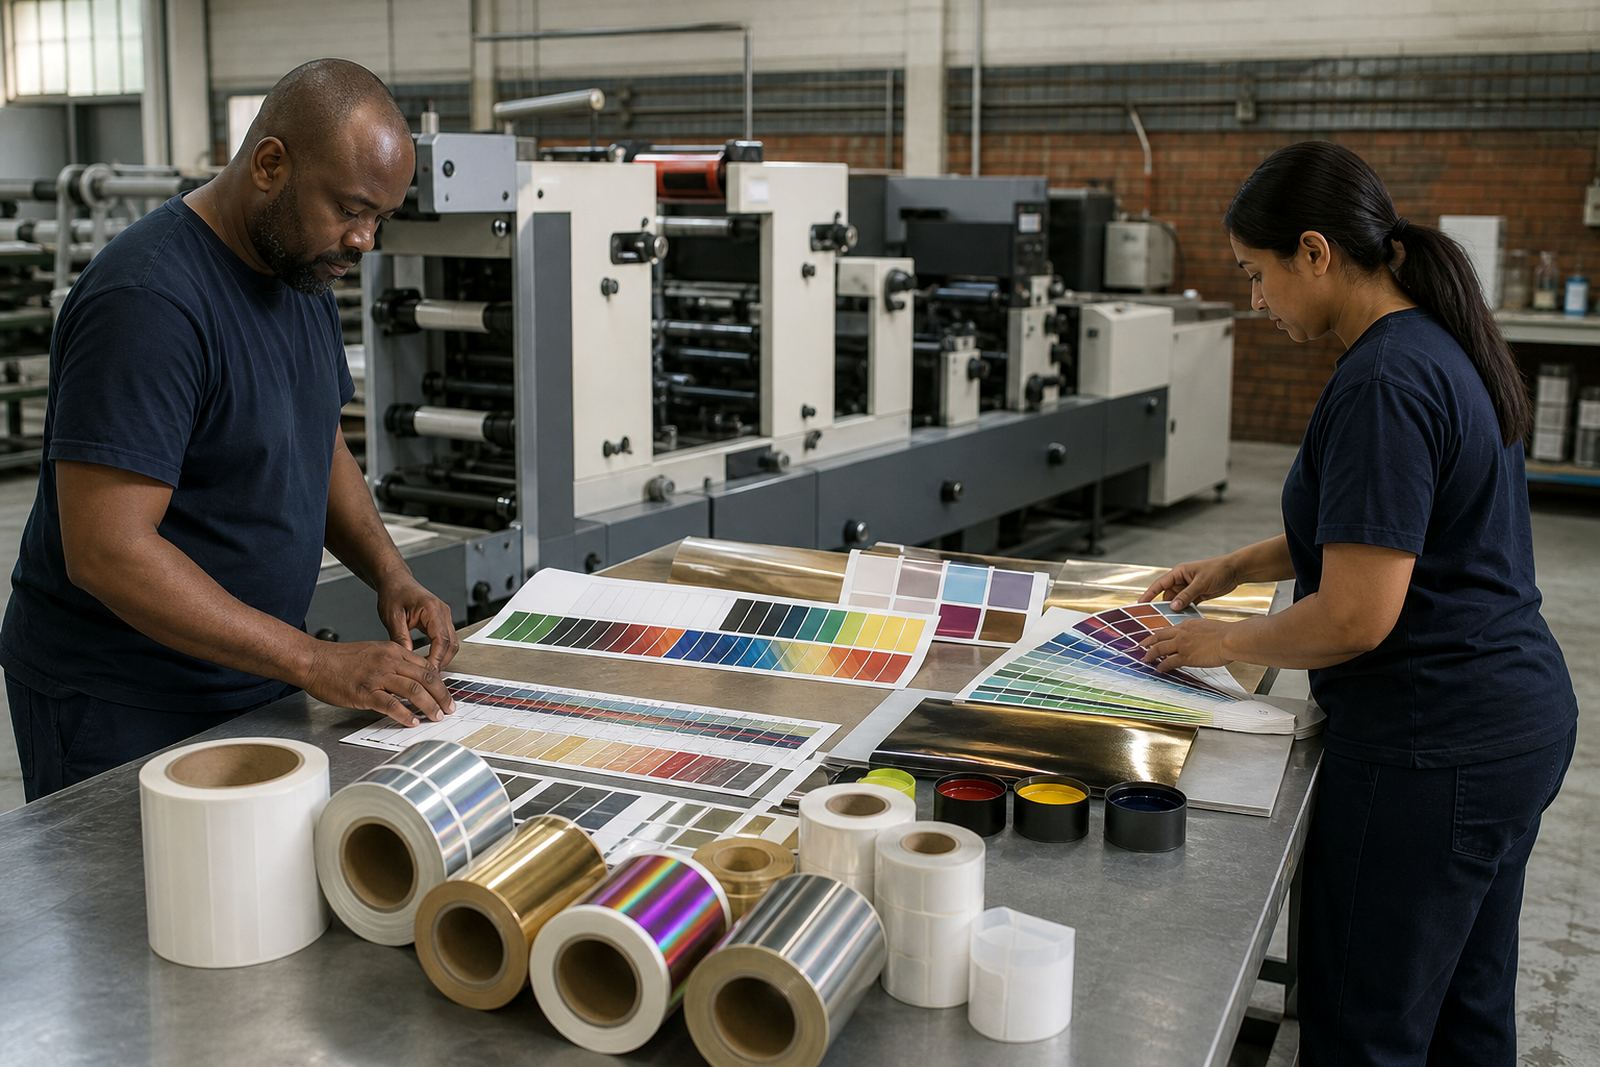
The first units off press should be treated as setup material until all details are confirmed. Compare print colour, register, die cut position and any varnish or foil placement against the approved sample. On a new job, it is better to pause and correct a problem early than push poor product into the stack.
Track the start-up waste and note why it happened. If the colour needs adjustment, record whether the issue came from ink mix, impression, web tension or a worn component. That note helps the next changeover and gives your team a better routine for future jobs.
- Keep the first run separated from good stock
- Check print, cut and rewind alignment before release
- Inspect waste for repeat faults, smudging or lifting
- Only sign off after the sample matches the approved target
Get Finishing Ready Before the Job Reaches That Station
Finishing should not be an afterthought. Die cutting, slitting, varnishing, foiling and rewind settings all need to be ready before the press reaches steady production. If the finishing crew is waiting on setup, the whole changeover takes longer and the reel builds up in the wrong place.
Make sure blades are sharp, guides are set and the rewind direction is correct. Check that trim waste has a clear path and that the finished product can be packed without damage. For converters serving food, beverage, cosmetics and retail clients, clean handling is just as important as print quality.
- Confirm finishing order and station sequence
- Set trim width, rewind tension and waste take-up
- Check that cartons, labels and packs are ready for collection
- Keep reject bins separate from approved product
Use a Short Changeover Checklist for Every Job
A written checklist keeps the whole team on the same page. It also helps when the press is shared between shifts or when temporary staff are on the floor. The best checklists are short, practical and easy to follow without stopping the job for long explanations.
Keep one copy at the press and another in the finishing area. Review the sheet at the end of the changeover, not only when there is a fault. Over time you will see where delays happen, whether it is missing tooling, unclear instructions or slow material movement between departments.
- Job ticket verified
- Materials and tooling staged
- Old job removed and waste cleared
- Plates, inks and substrate checked
- First sample approved
- Finishing settings confirmed