

Start with a clean pre-run check
Before a job goes live, walk the press and the finishing line in the same order every time. A set routine helps the team spot small faults early, before they become wasted material or rework. In a busy Kempton Park or Johannesburg print room, that discipline matters when you are working against load-shedding changes, short lead times and more than one substrate on the floor.
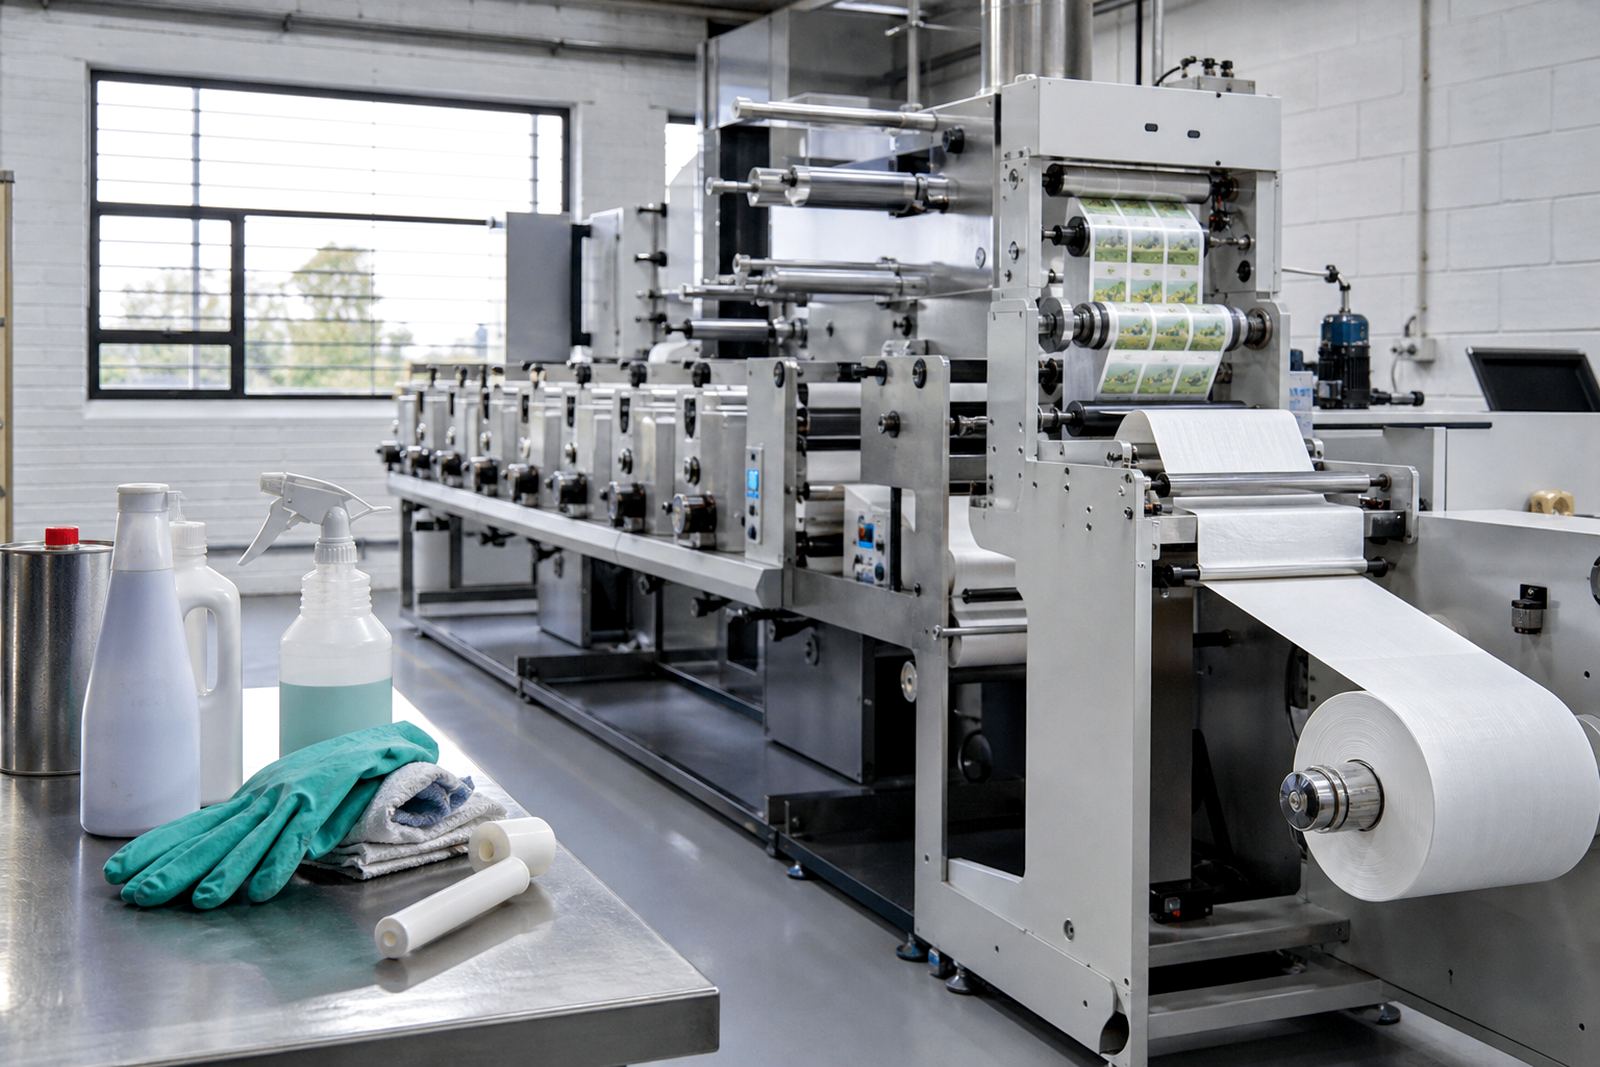
Begin with the basics: confirm the job ticket, artwork version, plate set, substrate roll and inks match the approved sample. Check that rollers, guides, tension paths and drying sections are clean. Look for dust, dried ink, adhesive build-up and damaged edges on rollers or plates. On press, a small mark can move fast through a run and affect every label after it.
- Confirm the job name, quantity, substrate and finish
- Check plates, sleeves and mounting are correct for the repeat
- Inspect ink trays, pumps and hoses for contamination
- Clear dust from paths, sensors and web guides
- Test that knives, slitting paths and rewind units are set safely
Use setup checks to lock in colour and registration
Good setup is where most quality control wins or loses the job. Registration, colour match and web stability should be checked before the run is allowed to settle. If the press is not holding its position properly, or the substrate is moving unevenly, the print can look acceptable for a short stretch and then drift out again.
For label converters in Pretoria, Durban and Cape Town, humidity and temperature changes can affect substrate handling. The team should confirm tension settings, drying balance and impression pressure for the material in use. Avoid chasing a visual result with too much pressure. That may hide one fault and create another, such as distortion, gain or poor edge definition.
- Pull a setup sample and compare it to the approved standard
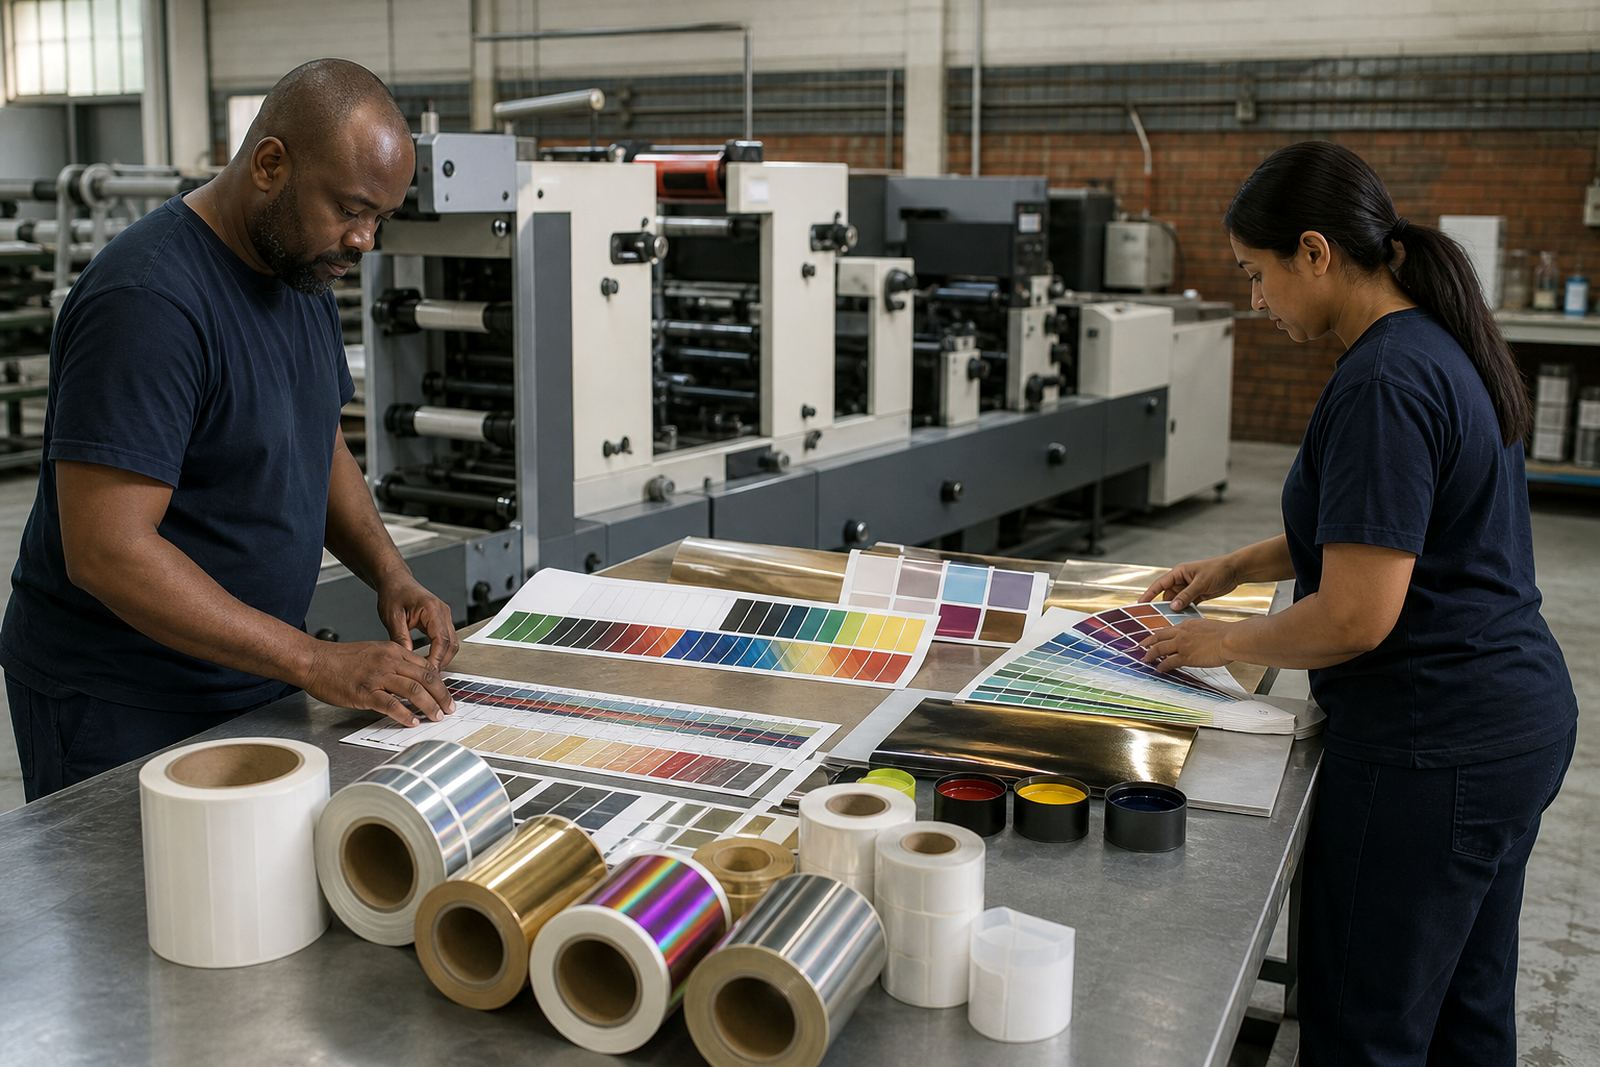
- Check colour density under consistent light
- Inspect fine text, barcodes and reverse copy for clarity
- Confirm web edges are tracking evenly through the line
- Repeat the check after the first few metres are running steadily
Monitor the run at fixed intervals
Once production is underway, quality control must continue through the run, not only at the start. A simple interval routine, such as checks at start-up, after adjustments and at regular production points, helps catch drift before it becomes a full batch problem. The same rule applies whether the job is a short retail label run or a longer food and beverage order.
Watch for tone changes, overprint issues, fading, smudging and nip marks. Check the rewind for alignment and edge condition. If the job uses spot colours, compare them against the standard in the same viewing conditions every time. If there is a pause for a roll change, plate adjustment or drying correction, treat the restart as a fresh quality check. That habit saves a lot of scrap later on.
- Inspect the first labels, then again after the first stable metre count
- Check every adjustment against the same reference sample
- Record any change to speed, tension, pressure or drying
- Keep rejected labels separate from accepted stock
- Stop and investigate if the same fault appears twice
Handle finishing with the same care as print
Finishing work can lift a label or spoil it. Slitting, die-cutting, varnishing, foiling and rewinding all need their own checks. If the print is correct but the finish is off centre, rough or poorly cut, the customer sees a problem straight away. That is why finishing setup should be treated as part of quality control, not as a last step after the real work is done.
Check that cut lines are clean, waste removal is consistent and rewind tension is not crushing the web. If labels are being supplied for retail or cosmetics, inspect the edges closely, because poor finishing shows up fast on shelves. Keep an eye on static, dust and adhesive build-up. In warmer areas and coastal conditions, that kind of contamination can build up quicker than expected.
- Verify slit width and cut position before full production
- Inspect die-cut edges for tearing or feathering
- Check rewind tension so rolls stay even and firm
- Remove dust and waste often during long runs
- Confirm finished rolls are labelled and packed correctly
Track common faults before they repeat
Most quality issues return in patterns. A careful team keeps a fault log and learns which setting, material or handling step was linked to the problem. This does not need to be complicated. A clear note on what was seen, when it started and what action fixed it is enough to support better decisions on the next job.
Typical faults in narrow-web flexo work include colour drift, dirty print, poor registration, weak adhesion, curling, ink rub and damaged slitting edges. Once the pattern is known, the fix becomes faster. Sometimes the answer is a press adjustment. Sometimes it is better anilox care, plate mounting, substrate storage or a slower setup pace. The point is to stop guessing.
- Write down the fault as soon as it appears
- Note the time, roll position and machine section involved
- Record the corrective action taken
- Keep a sample of the rejected work for comparison
- Review repeated faults at the end of the shift
Train operators to inspect, record and respond
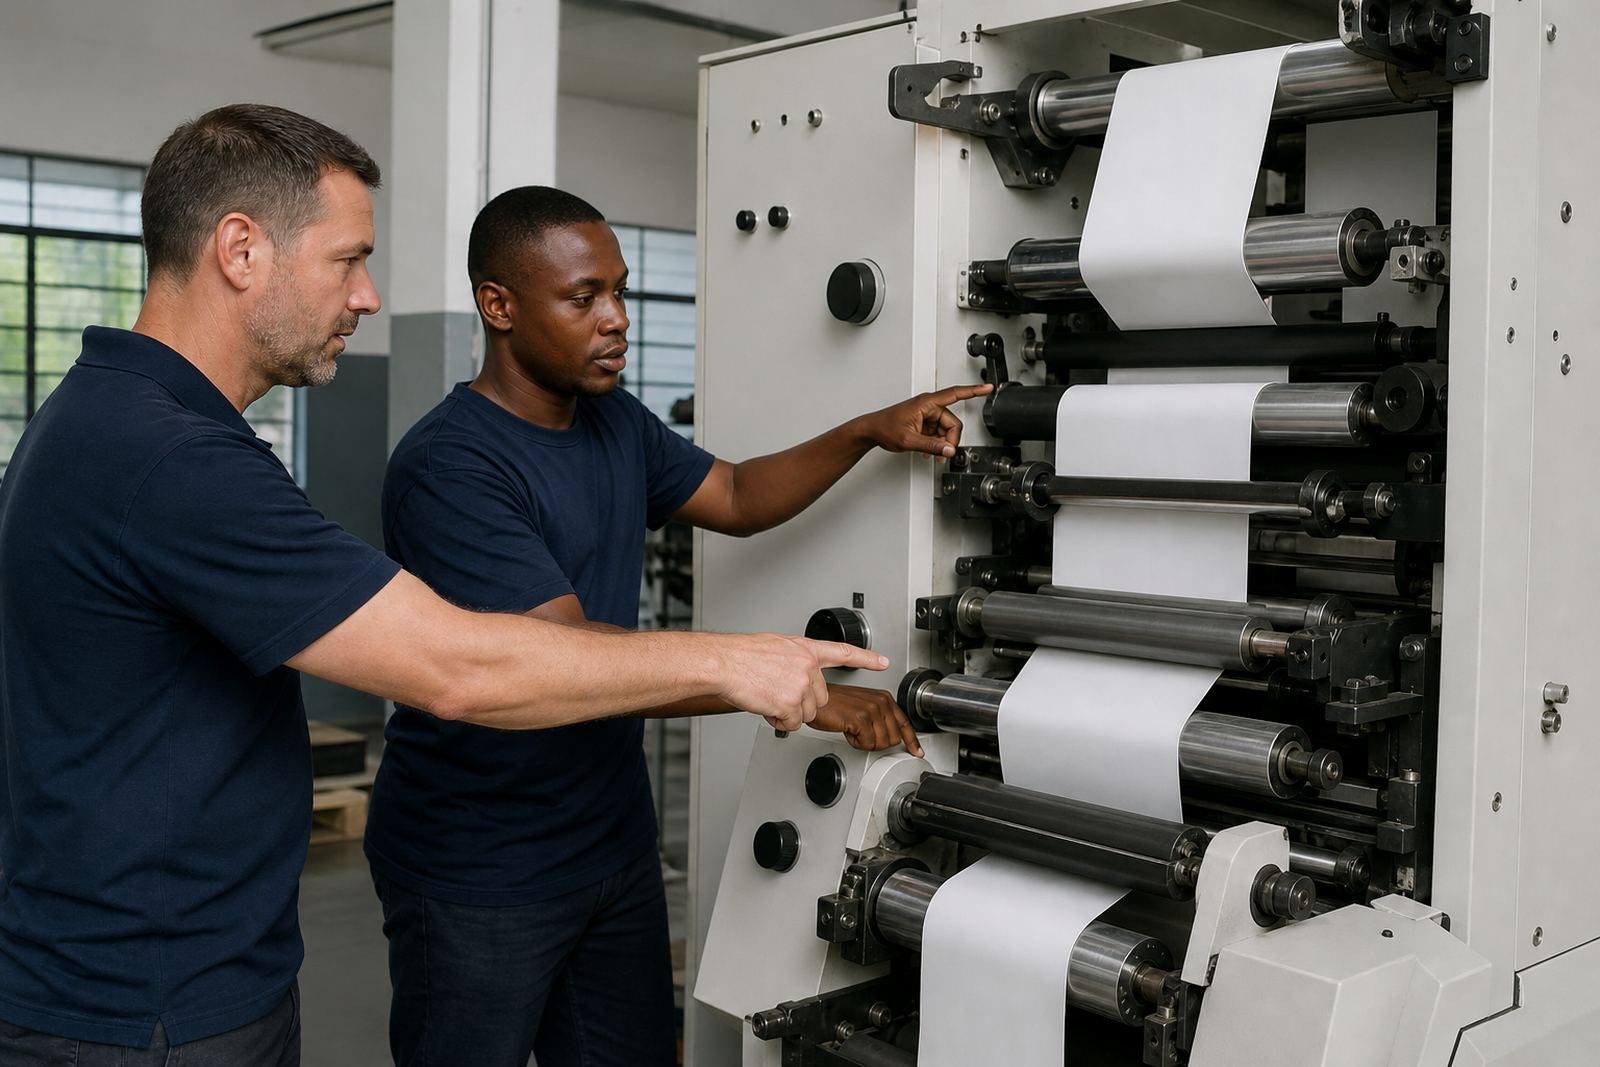
Operator training is one of the strongest quality control tools on any press line. A trained operator notices small changes faster, asks the right question and acts before the job moves too far from standard. That includes knowing when to continue, when to slow down and when to call for technical help. In practical terms, that means teaching people how to read the job ticket, handle samples and use a simple inspection routine without rushing through it.
Training should also cover safe cleaning, plate handling, colour checks, material storage and restart procedures after a power interruption. South African plants know that municipal issues and load-shedding can interrupt production. A team that knows how to restart cleanly saves time and reduces scrap. Quality control works best when everyone follows the same process, not when each shift improvises.
- Train on sample approval and job ticket checks
- Show operators how to log faults clearly
- Teach restart checks after stoppages or power cuts
- Keep a simple visual standard at the press
- Refresh the routine whenever materials or setups change
Use a final release check before packing
The last check before packing should confirm that the labels are ready for dispatch and fit for the customer’s process. Check roll count, roll direction, core size if relevant, outer wrap, carton marking and batch identification. If the finished stock is going to a converter or brand owner, make sure samples and paperwork match the approved run. A neat release check avoids phone calls later and keeps stock movement orderly.
Before release, inspect a few random rolls from the job, not only the first one. Look for loose edges, telescoping, print variation or packing damage. If the job passed production but failed on pack-out, the customer still receives a problem. A short final check protects the work you have already done.
- Confirm the finished quantity against the job ticket
- Check random rolls for print and rewind quality
- Verify batch labels and carton details
- Keep approved samples with the job record
- Separate held stock clearly from released stock